 Well folks, I think Dave might divorce me if I make one more Buffalo Chicken dish. But this last one (for a while) is beyond anything in my wildest dreams.
In college, there were two nights that were my favorite: Fridays and Toasted Ravioli night in Ray Cafe. The line would snake out the door and down the stairs, even in the dead of winter. Cheesy goodness sandwiched between two plump sheets of pasta, breaded and fried to perfection.
The irony of this particular recipe is that I was actually gonna round up this BC series with a skinny version of the Buffalo Chicken Eggrolls that I made a while back, as I knew I had some egg roll wrappers left in the freezer. When I went to take the egg roll wrappers out of the freezer though, I discovered that they were in fact won ton wrappers. Shoot.
Wait. Won ton wrappers. hmmmmmm.
The wheels turned.
“What can I do with won tons wrappers”?
BUFFALO CHICKEN RAVIOLI! That’s it!
Oh and I’ll fry them – what the hell.
When I say these are beyond amazing, they are b-e-y-o-n-d amazing. If you don’t need them all right now, fry half and freeze the rest for another time. Or make them all at once, and try not to finish all 3 dozen – I triple dog dare ya.
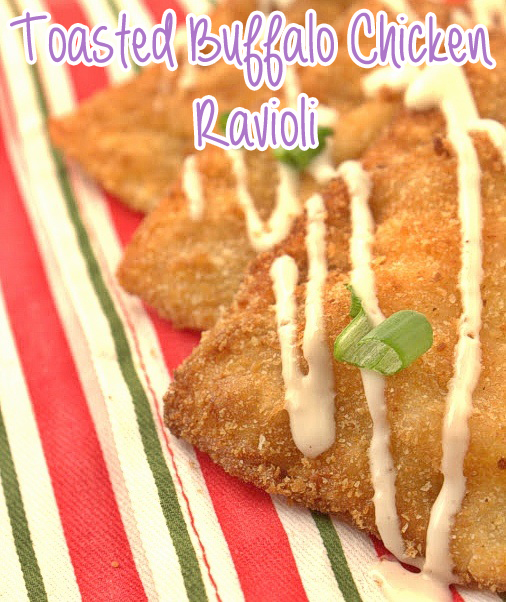
Toasted Buffalo Chicken Ravioli
INGREDIENTS
*yields just about 3 dozen ravioli
1 -15oz container part skim ricotta cheese
1 egg, lightly beaten + 3-4 more eggs, lightly beaten for lining won ton edges & dipping the raviolis
1 cup crumbled blue cheese
1 cup cooked chicken
2 stalks of celery, chopped small
2 small garlic cloves, minced
1 bunch of scallions, minced
salt & pepper to taste
1/2 cup Frank’s hot sauce
72 won ton wrappers
vegetable oil for frying
3-4 cups bread crumbs
*ranch or blue cheese dressing for dipping/drizzling and sliced green onions for garnish
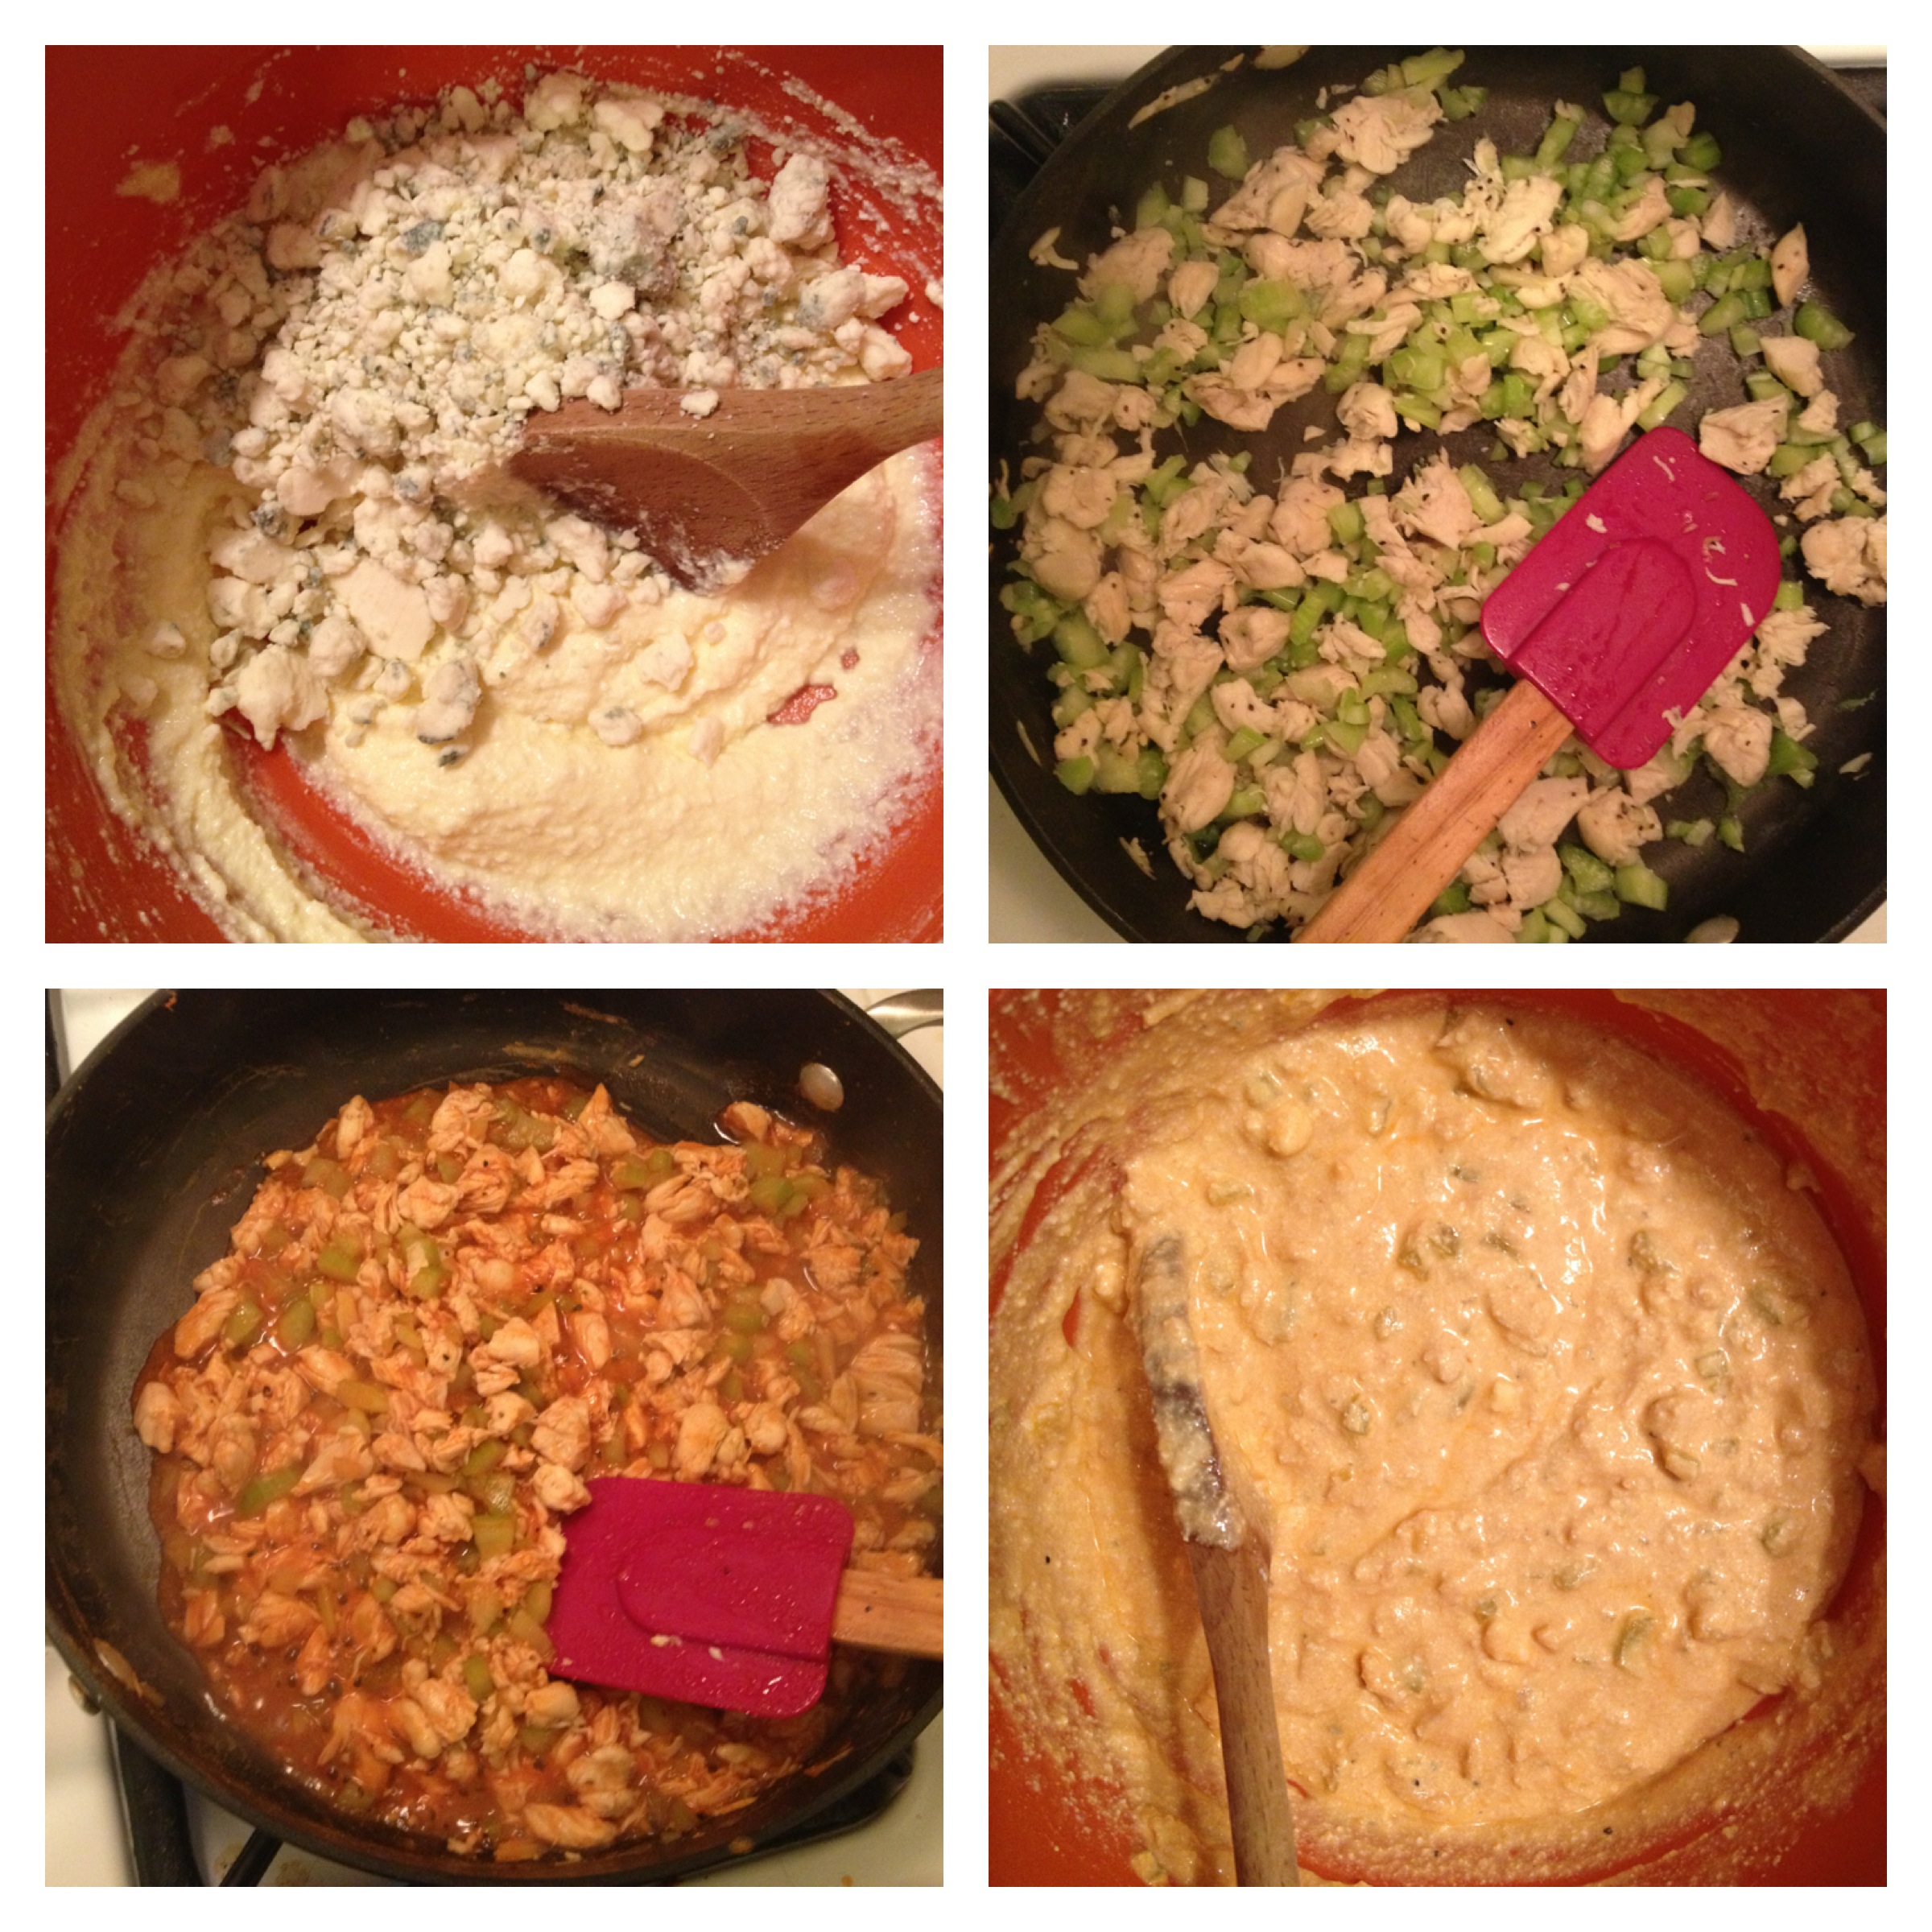
1) In a small mixing bowl, combine the egg and ricotta cheese together until mixed. Then fold in the blue cheese crumbles and set aside.
2) In a medium saucepan, saute your cooked chicken, celery, garlic and scallions for about 3 minutes. Season lightly with salt and pepper. After 3 minutes, add in the Frank’s hot sauce and stir for another 1-2 minutes.
3) Add the hot chicken/veggie mixture to the ricotta/blue cheese and stir until combined.
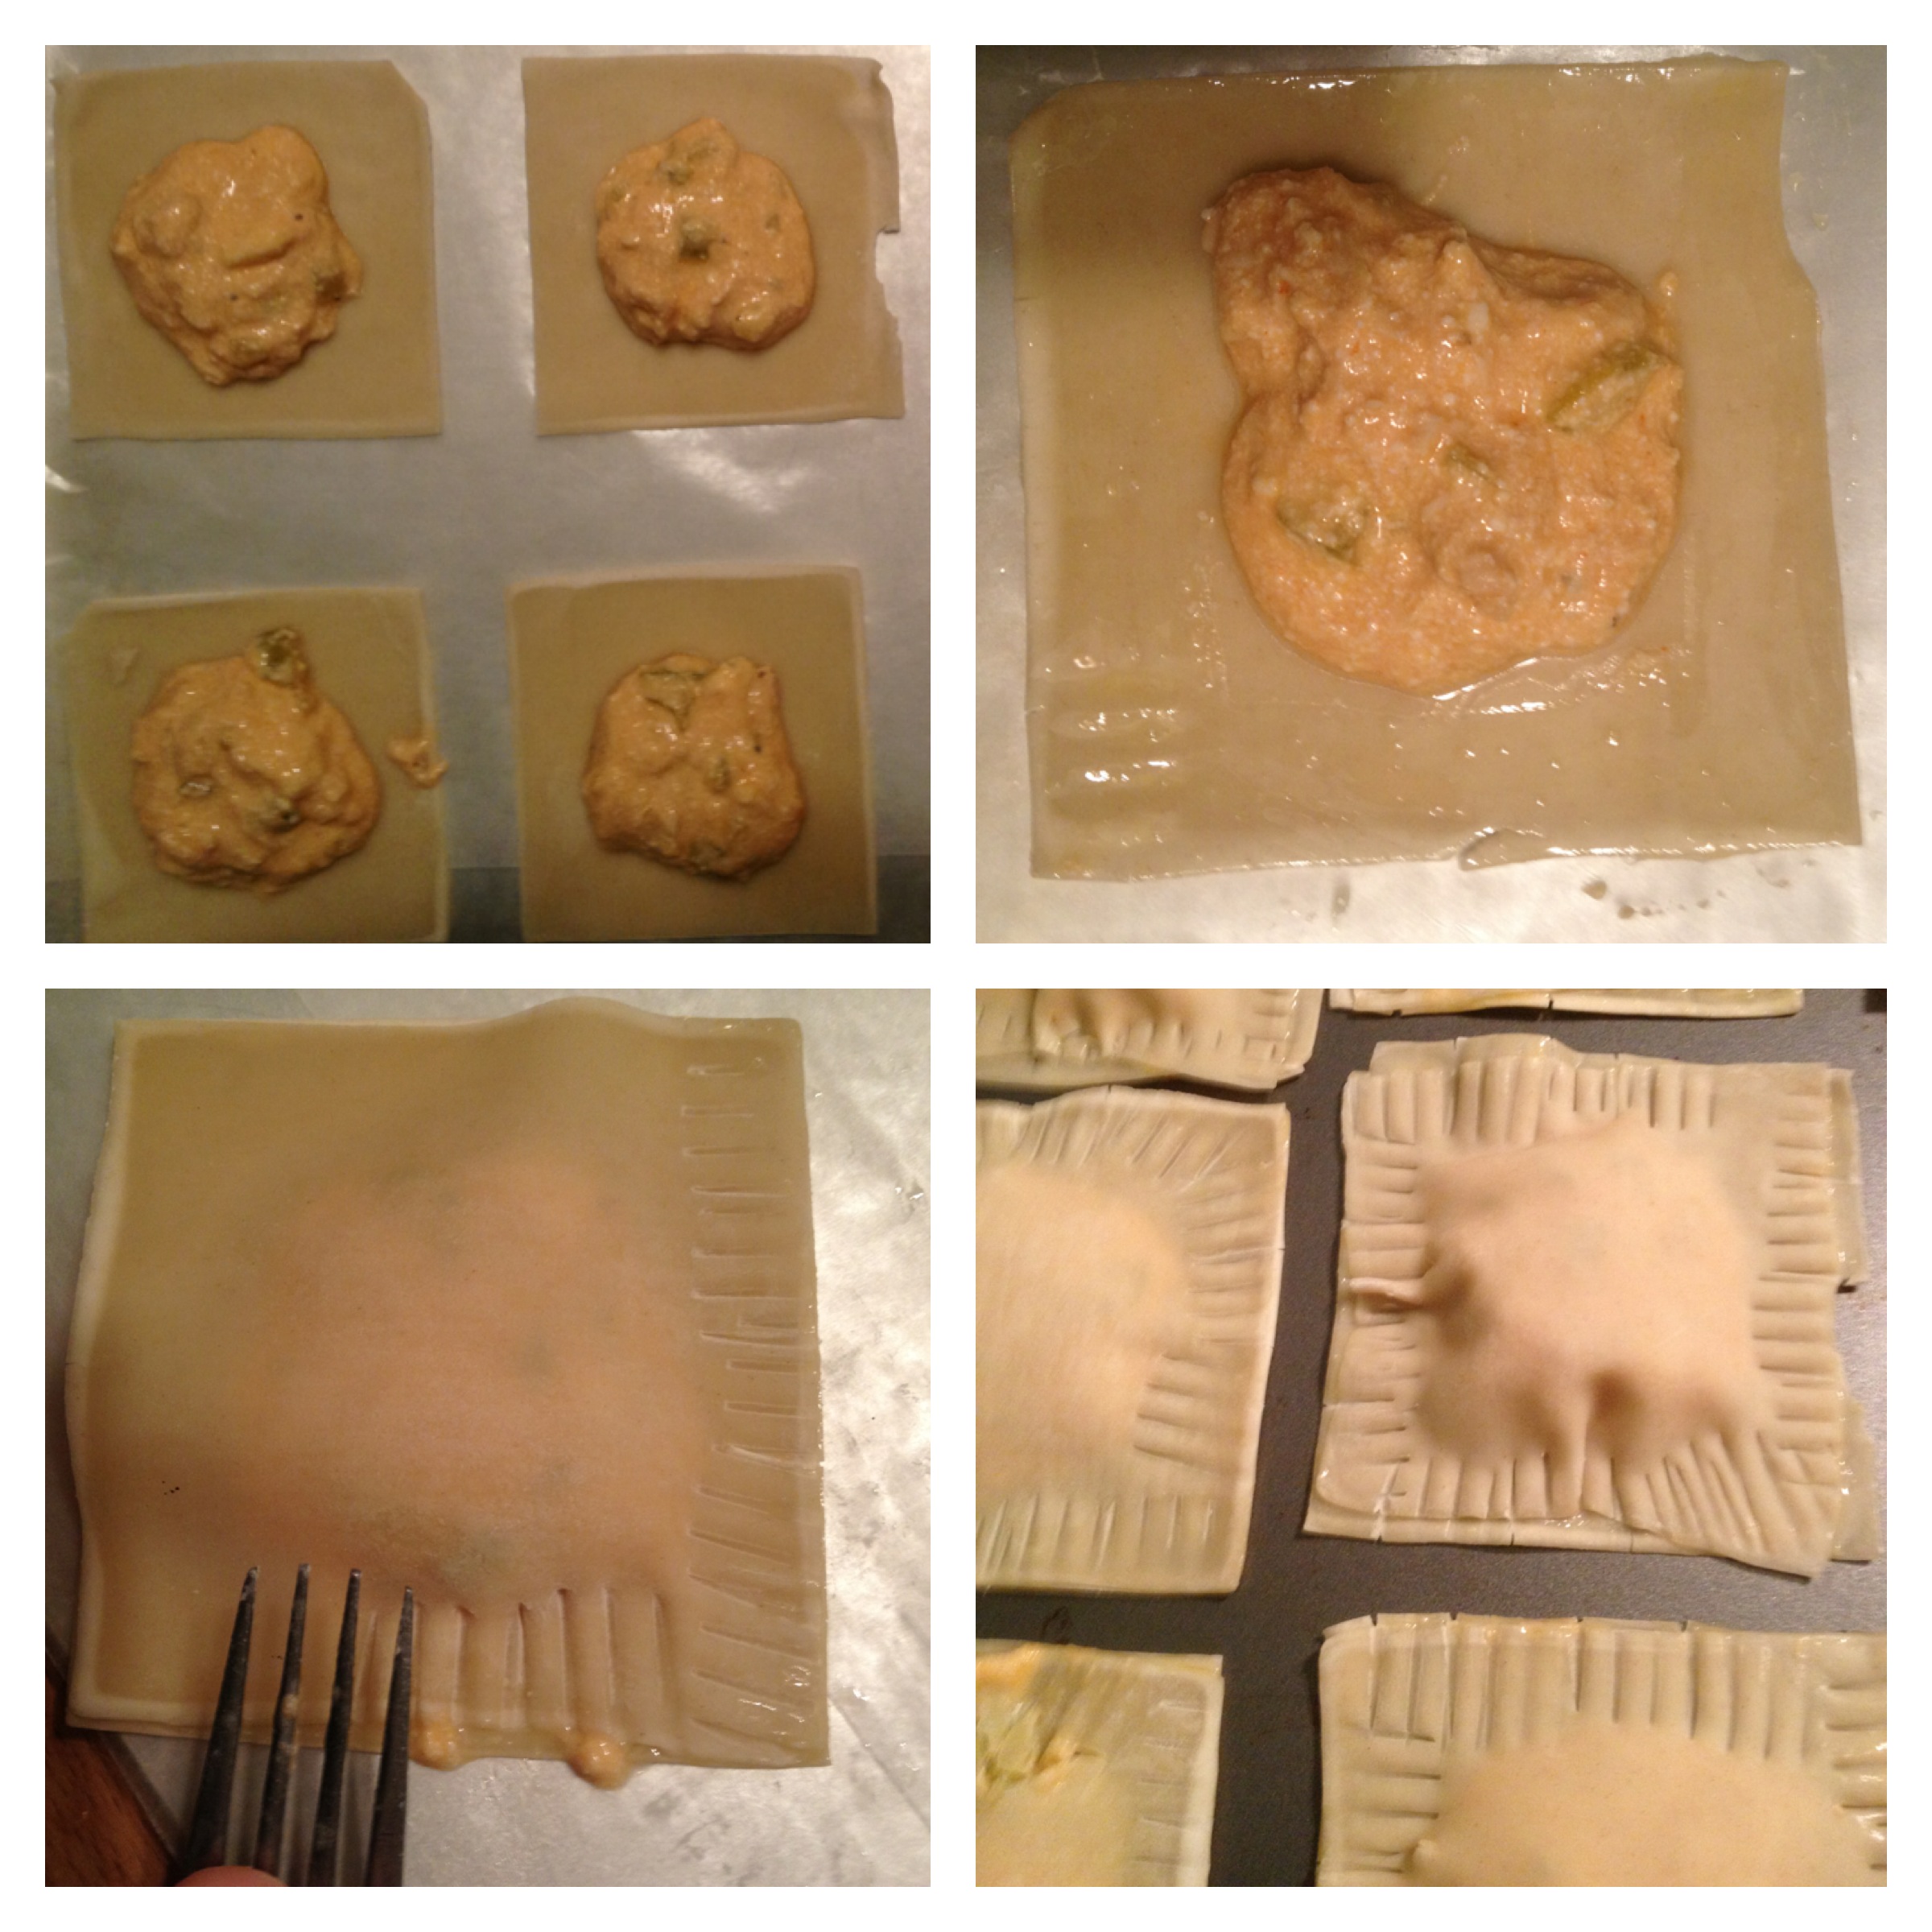
4) Line 3 baking sheets with wax paper. Lay out 12 won ton wrappers on each sheet. Baste the edges of each won ton wrapper with egg wash, and then place 1 tablespoon of the buffalo chicken/ricotta mixture in the center of the won ton wrapper.
5) Cover each won ton with the other 36 wrappers, and seal each ravioli together with a fork, similar to how you would if you were sealing the edges of a pie together. These won ton wrappers make a sizeable ravioli, so feel free to trim them if you don’t want as much edging.
6) Let raviolis chill in the refrigerator for about 20 – 30 minutes. This will help them to stay together when you’re frying.
7) When your raviolis are ready, take medium-large, heavy bottomed skillet and fill it about 1/3 way with vegetable oil. Heat your vegetable oil over medium heat for 3-5 minutes until you start to see little ripples form, or when you flick it with water it makes a ‘sssssssssssssssssss’ noise (very technical I know – I don’t have a heat thermometer, so I make up my own methods!)
8) Take 2 shallow mixing bowls: in one, place the other 3-4 lightly beaten eggs and in the other, the breadcrumbs. Take 3-4 raviolis at a time, dipping them first in the egg and then the breadcrumbs, and then place them in the hot oil You don’t want to crowd them, so I’d advise only doing about 4 or 5 at a time, depending on how large your skillet is.
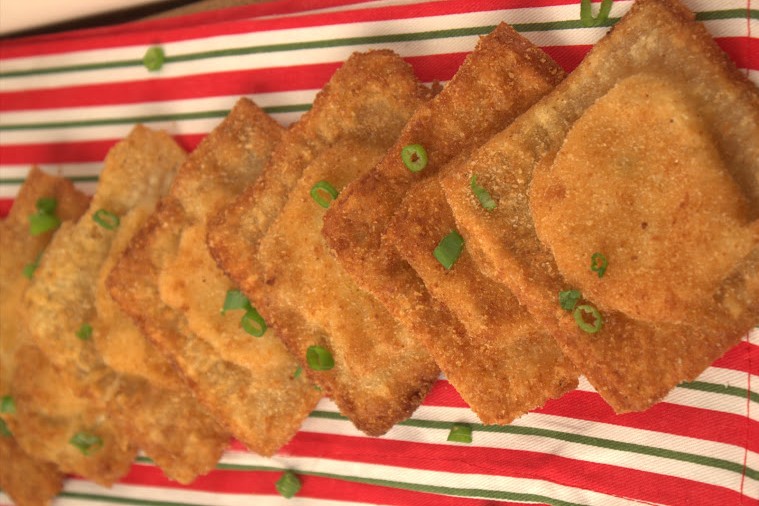
9) Let cook on one side for about a minute and a half, and then flip over and cook on the other side for another minute and a half. You can judge this time by how golden brown you want your raviolis, but 90 minutes on each side gave them a really nice golden brown color and a great crispy crunch.
*I highly recommend heating the oil in batches as well. You’ll find that the breadcrumbs will start to fall into the oil and burn, and if you use the same oil for all 36 raviolis, well they might get some burnt crumbs on the outside of them. So try refilling/heating your 2-3 times to avoid that burnt taste.
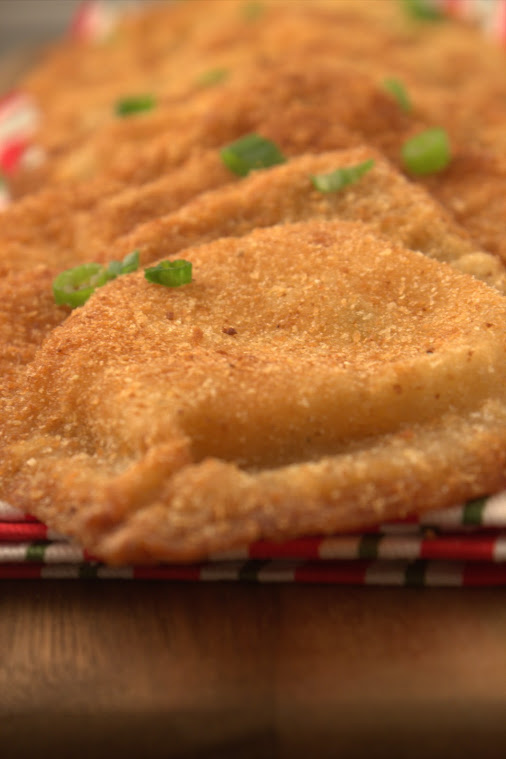
10) Once all your raviolis have been fried, you can drizzle them with ranch or blue cheese dressing and garnish with sliced green onions.
OR you could do what I did.
Skipped the dipping and garnishing – ate three of them right out of the oil and burnt the top layer of skin off of the roof of my mouth.
It was totally worth it 🙂
4 comments
What an awesome idea! I made pierogies for the first time last week, and as I was rolling out that dough I kept thinking, “surely there’s a way to do this with wonton wrappers, right?” I was worried that the wrappers wouldn’t crimp together right, but sounds like it works perfectly.
I’m bookmarking this. These might just make my husband forgive me for serving him pierogies stuffed with asparagus 🙂
He’ll forgive you! Trust me! And these are a great dish to try to regain whatever forgiveness needs to be regained – they are so good – really and the won tons are perfect if you’re looking to save some time! But I am majorly impressed that you made your own dough and think that asparagus stuffed pierogies sound amazing!
wanted to pass on another trick to tell if the oil is hot enough. Take a wooden spoon, handle end, and stick the tip in the oil. when the oil bubbles around the wood you are ready to go.
Love you site. keep up the good work and by the way love the name!
Mary Hansel
That is an awesome tip Mary! thank you!
Comments are closed.